Getting Started with Self Hosted WordPress Blog
A platform helps you connect with your audience, share ideas and information, develop relationships, influence an opinion, report news, inspire creativity and promote your business expertise .
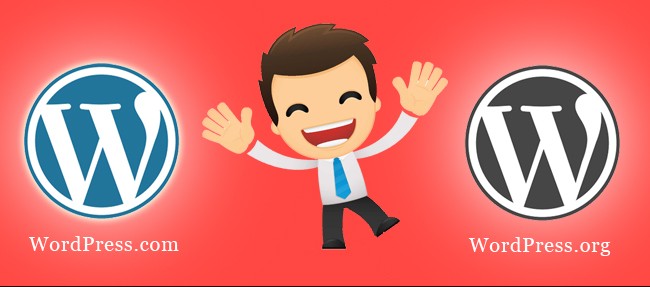
A blog is the easiest route to take in order to build a platform. You can create a blog using free hosted tools like wordPress.com, typepad.com and Blogger.com but you will be able to control everything on your blog by using WordPress which is used by a lot of bloggers who are determine to develop their craft.
Most of us get discouraged when attempting to create a blog. Just like you, we assumed that the process is very difficult and everlasting but it’s an easy process. This method will help you create a blog in less than 20 minutes .
To setup your blog, you really do not need technical expertise it’s very simple. But oftentimes, our client still reach out to us for help setting up their blog. That is why Gvate is here, we are here for you .
7 steps to create a self-hosted blog
1. What do you need
Beforehands, you will need these 2 basic things to set up your own blog
- Credit Card
- A domain name
If you have a domain name registered, all you will need to do is to follow an additional step stated in this article. And if you are brand new to this, do not worry, it’s cheaper and Gvate is here to help .
2.Find a website hosting
At Gvate, we use Bluehost which is one of the most reliable and fastest website hosting service provider currently providing us with everything we need for our business.
So let’s assume that you have chosen Bluehost as your home, this is where your blog will reside. With Bluehost you are able to rent space to install your software and control your blog.
However, you will find several hosting services on the web like Godaddy, ix Hosting, Yahoo! Smallbusiness, Justhost.com and many more.We are pleased with Bluehost that is why we recommend this last to you. Bluehost offers the best hosting.
3. WordPress Installation
Back in the days, installation used to be tricky and difficult but now it’s very easy. Bluehost made the setup process so easy that anyone could do it.
Scroll down to “Website Builders”, select WordPress logo, after the page has loaded, click on “Blogs” and select “wordpress”. A mojo will automatically load, this is a system for controlling automated scripts.
Click on the “start” button located on the new screen called “Install WordPress”. Now all you’ll have to do is select the domain on which you desire to install wordPress, finally, click on “Check Domain.”
Usually, a new screen appears with an error message, do not panic. Select “Oops, Looks like something already exists there. I understand that continuing will overwrite the files. ” On the checkbox, select “Directory exists! I understand that continuing will overwrite files.” Otherwise click again on “Check Domain.”
You are almost there, now click on “I have read the terms and conditions” Now you can install WordPress and this one will take a minute or two, be patient.
At the end, Bluehost will provide you with your Blog URL, Login URL, password and username. This information will be send to you via email. Just to play it safe, it’s always good to print it, write it down or take a picture of your screen.
You are one step ahead. Let’s get to the finish line .
4. New Blog
To view your new blog, you simply have to click on the blog URL, a new tab will open where your blog will be loading.
You will be taken to the administration panels where you can choose your own theme, create content, manage your blog and more.
5.Theme selection
On the menu located on the left hand side of the administration page, select “Appearance”, then Themes, now click on “Add new”. Once you have found the right theme for you, click on the “Preview” link .
In case you have a downloaded theme, simply use the “Upload” link located in the top links row and upload the zipped copy of it.
6. Write and Publish your first blog post
Here, on the left-hand side menu click on “Posts”, select “Add new”. Now you are on the “new post screen”.
Now you can write and share your thoughts. Once you are done, add a new category, make good use of your keywords, add tags, meta tags, featured images. Make sure to go over your post before sending it out to the world .
Now hit “Publish”. Congratulations!
What were your first post ? If you have any concern, please feel free to leave a comment below or simply contact us .